
- Bloodborne Darkbeast Paarl Guide - October 31, 2022
- Bloodborne Doll Character Guide - September 8, 2022
Our main leveler and courteous companion, Bloodborne’s Doll is far more than a creepy setpiece. This cotton avatar imbibed with the soul of a hardened killer plays a vital role in our dreams and violently haunts our nightmares.
In this bloodborne doll guide, I’ll review finding and reviving our cotton companion to guide our horrific journey through Yharnam. As a bonus, I’ll detail how to find the Doll’s true form in abandoned Hunter’s workshop and bring her joy for the very first time.
Bottom Line Up Front: Obtain insight from encountering the Cleric Beast boss or consuming a Madman’s Knowledge to awaken the Doll. Once awake, the Doll can channel our blood echoes and provide sage advice.
A Peculiar Doll
A creation designed to assist Hunters’ journey through Yharnam, the Doll is a recreation of Gehrman’s lost love Lady Maria. While Gerhman likely created the Doll to keep the memory of his favorite student and lost flame alive, he has since grown apathetic towards the animated being.
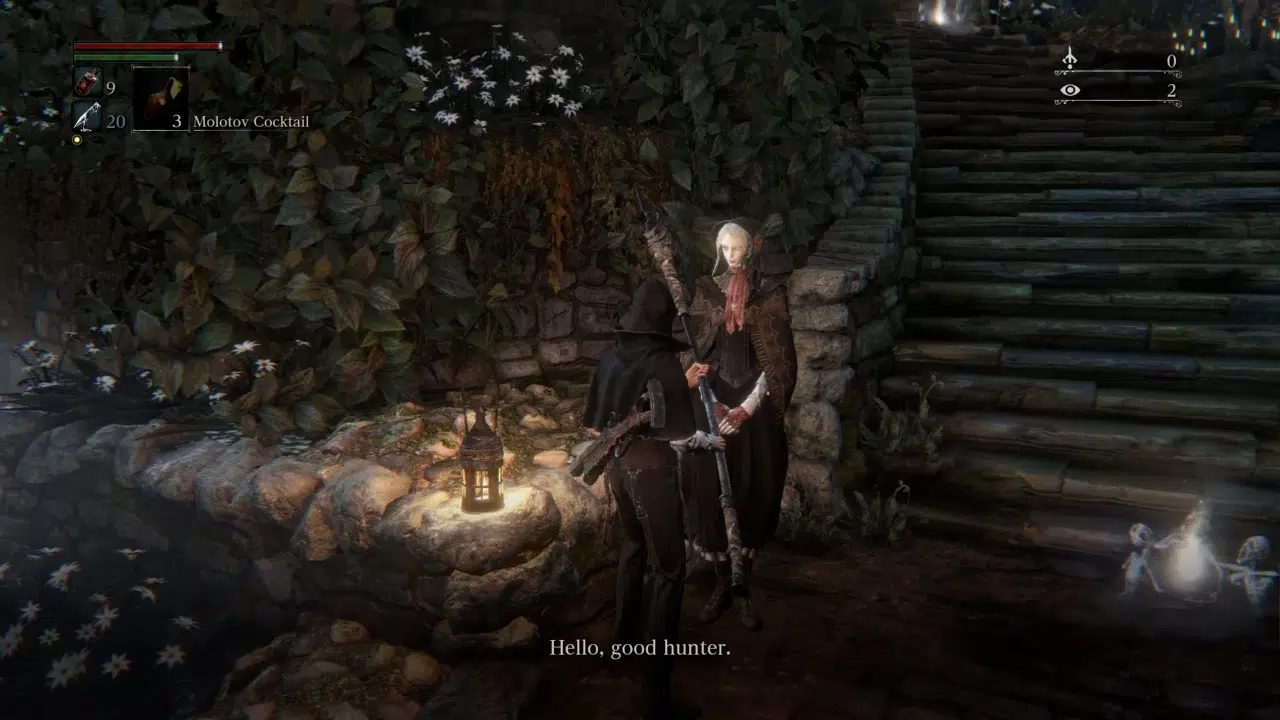
Regardless, the Doll projects a warm, loving personality and remains a faithful companion throughout our epic quest. Even if we’re confined to a wheelchair or turned into a squid, the Doll doesn’t hesitate to project gentle affection or give warm cuddles.
Awakening the Doll
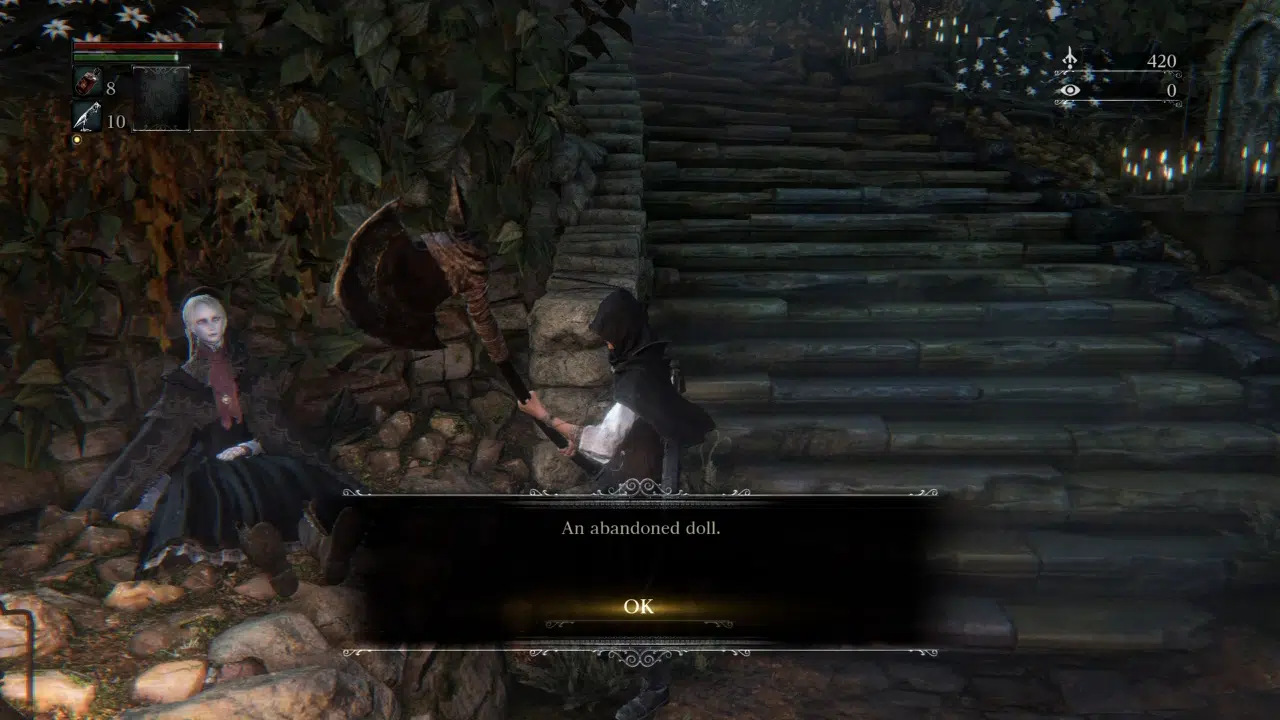
After our first death or resting at a lantern, we awaken in the Hunter’s dream where we first encounter the lifeless Doll. In this state, the Doll remains unresponsive and can’t channel our blood echoes until we’ve gained at least one insight. Luckily we can revive her after gaining insight through two methods:
Path A: Encountering Cleric Beast
Time: 8 min
Difficulty: Medium
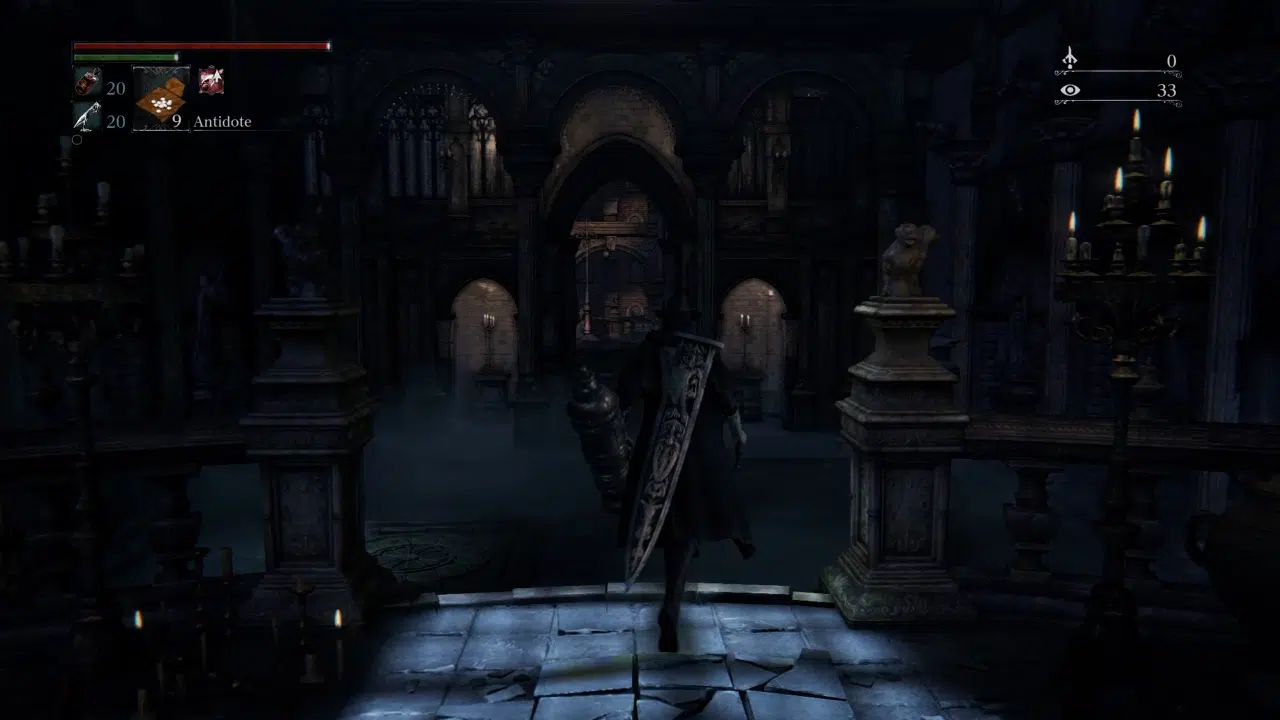
Each time we encounter a boss, we gain one insight, as seen in the eyeball in the top right of the screen, which awakens the Doll and bath messenger merchants. Luckily we find the first boss rather quickly if we know where to look.

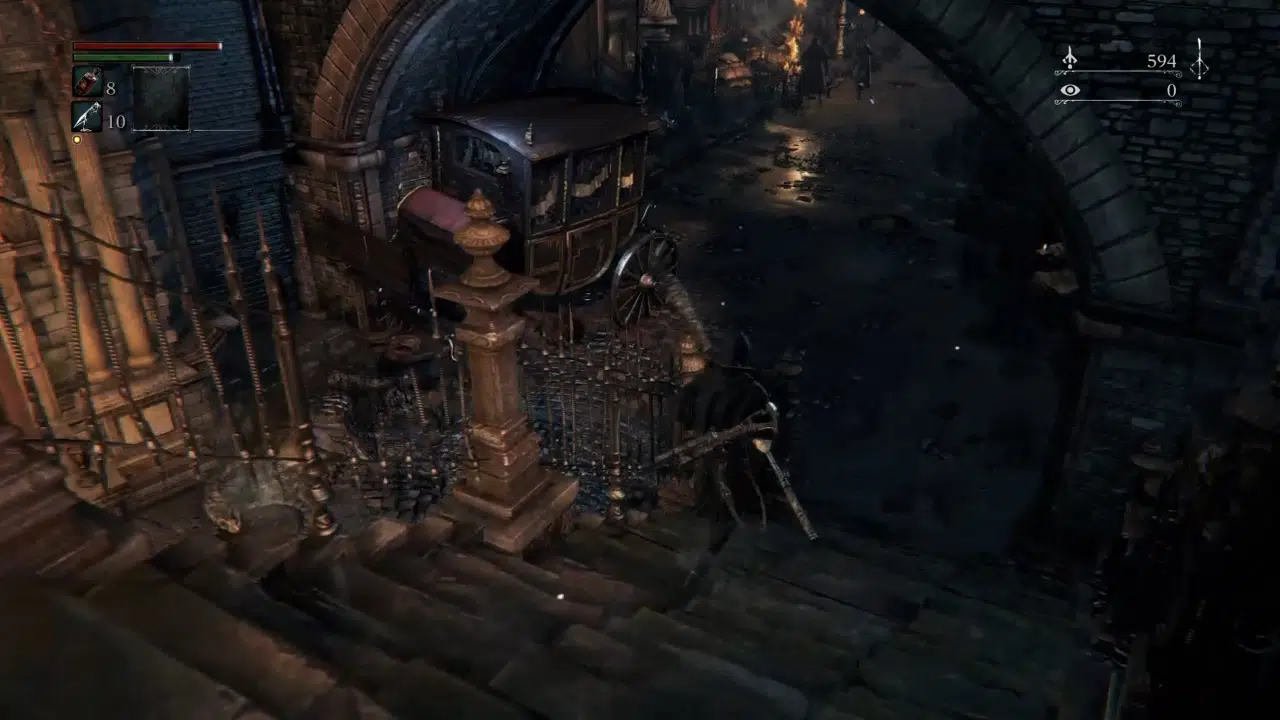
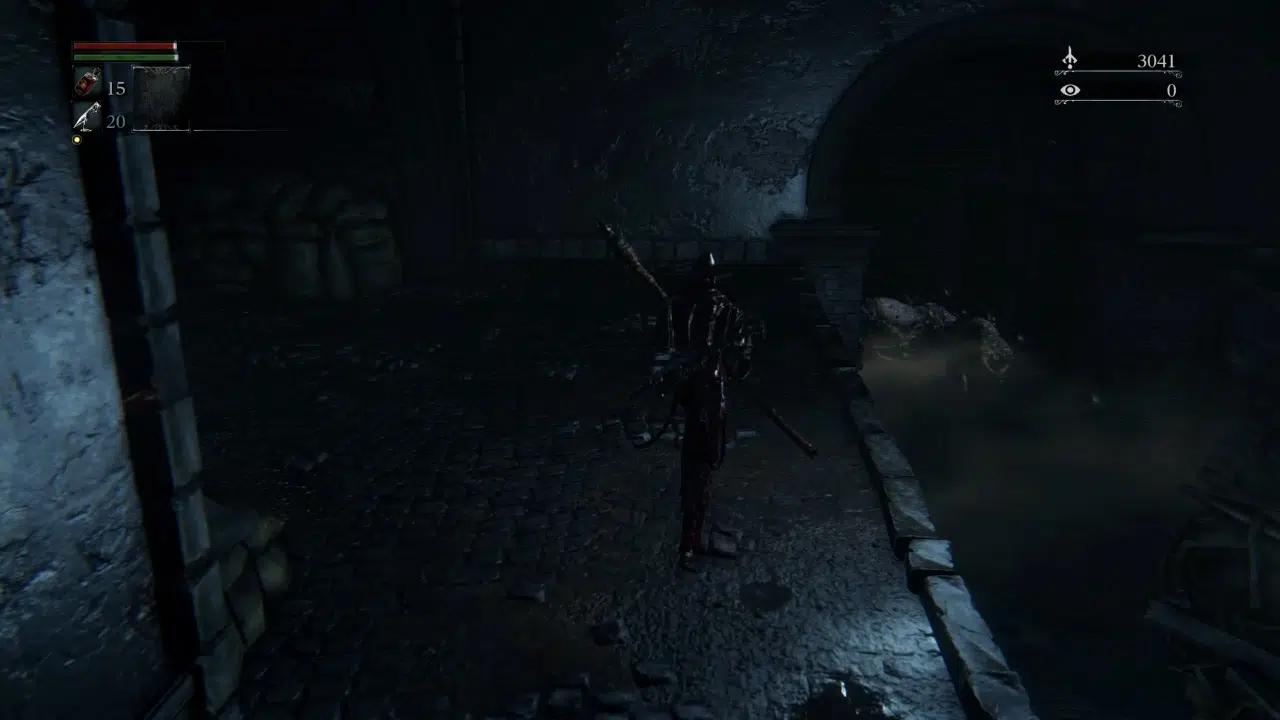
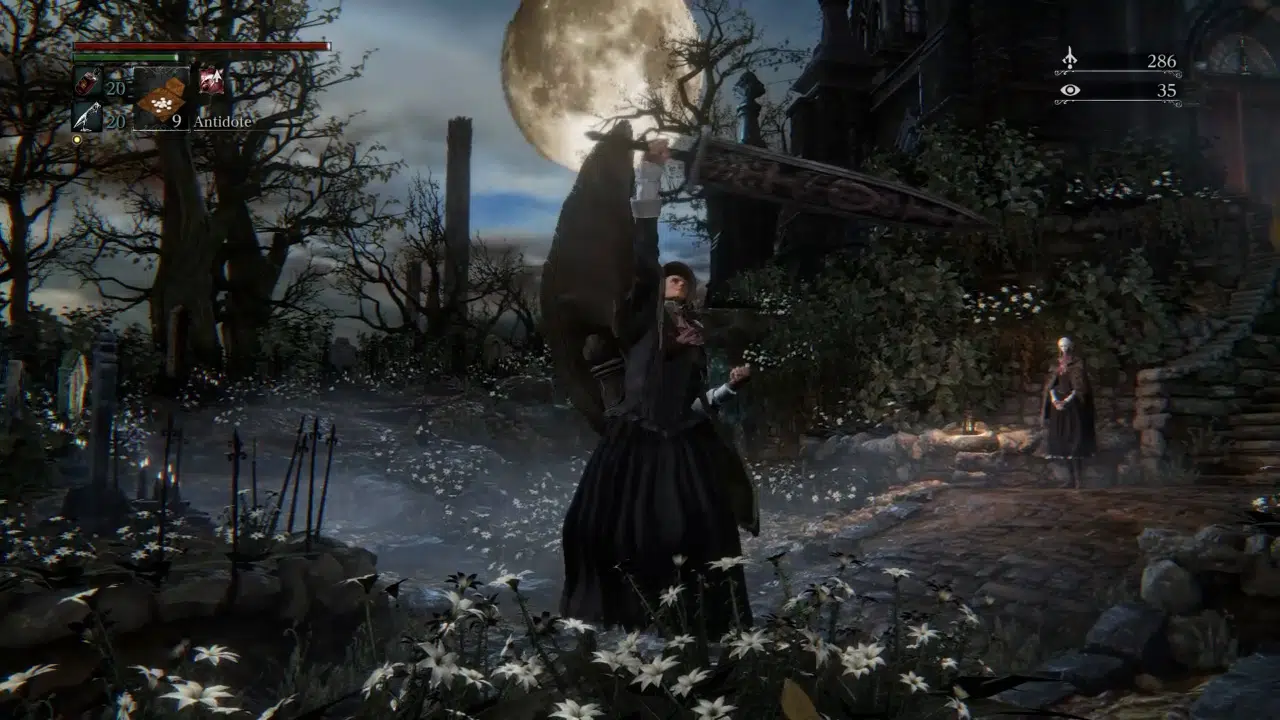
Starting from the Central Yharnam Lantern, head right and descend a set of stairs. As we continue down the linear path and cross a small bridge, an enemy jumps out behind two wooden coffins. We can quickly dispatch this foe with a charge attack from our axe, then either take the left ledge down or follow the stairs past two unaware enemies to the main street.
As we reach the beast-infested streets, we’ll have to run fast to avoid packs of deadly foes. I advise dodge rolling past any tightly packed enemies, and sticking to the left side of the street as we approach the mass of enemies burning an accountant-turned-werewolf. This method enables us to sneak past the large group of foes and head up the stairs without trouble.
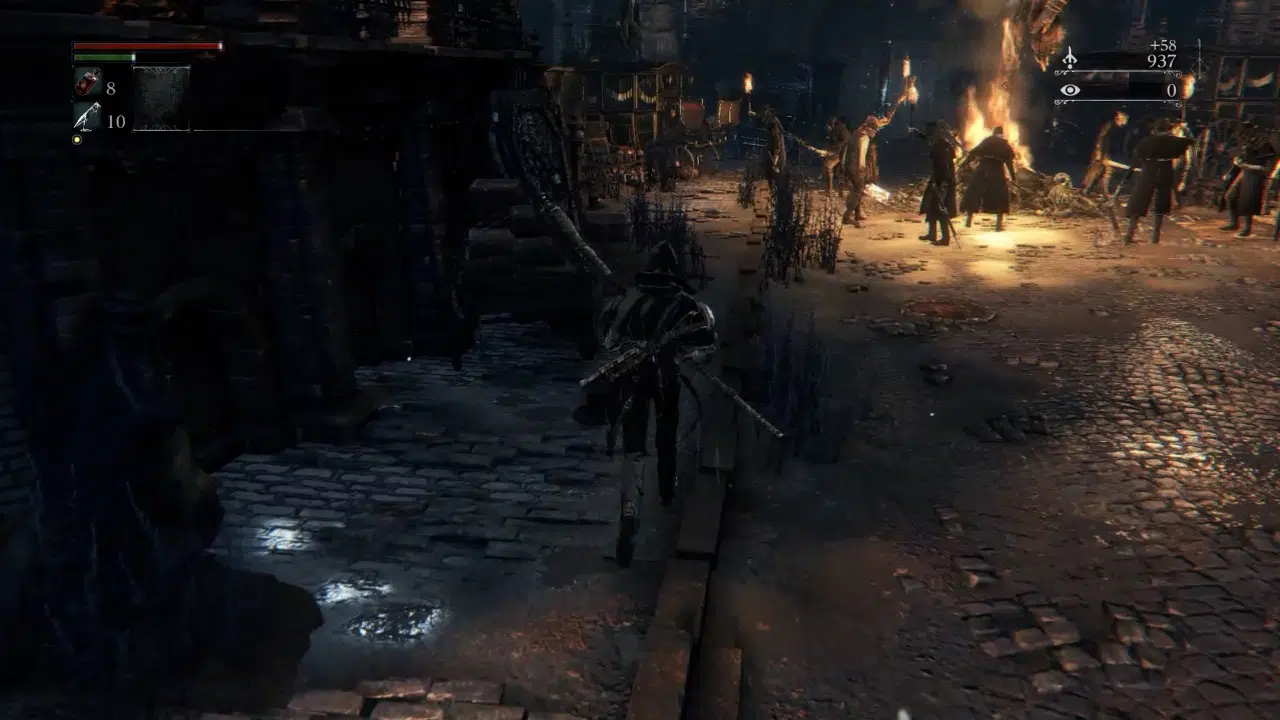
Unfortunately, a rifleman beast notices us regardless of our efforts so we’ll have to make a mad dash for the exit after reaching the top of the stairs. Avoid running in a straight line, or the sniper will hit us from afar, forcing us to restart our attempt.
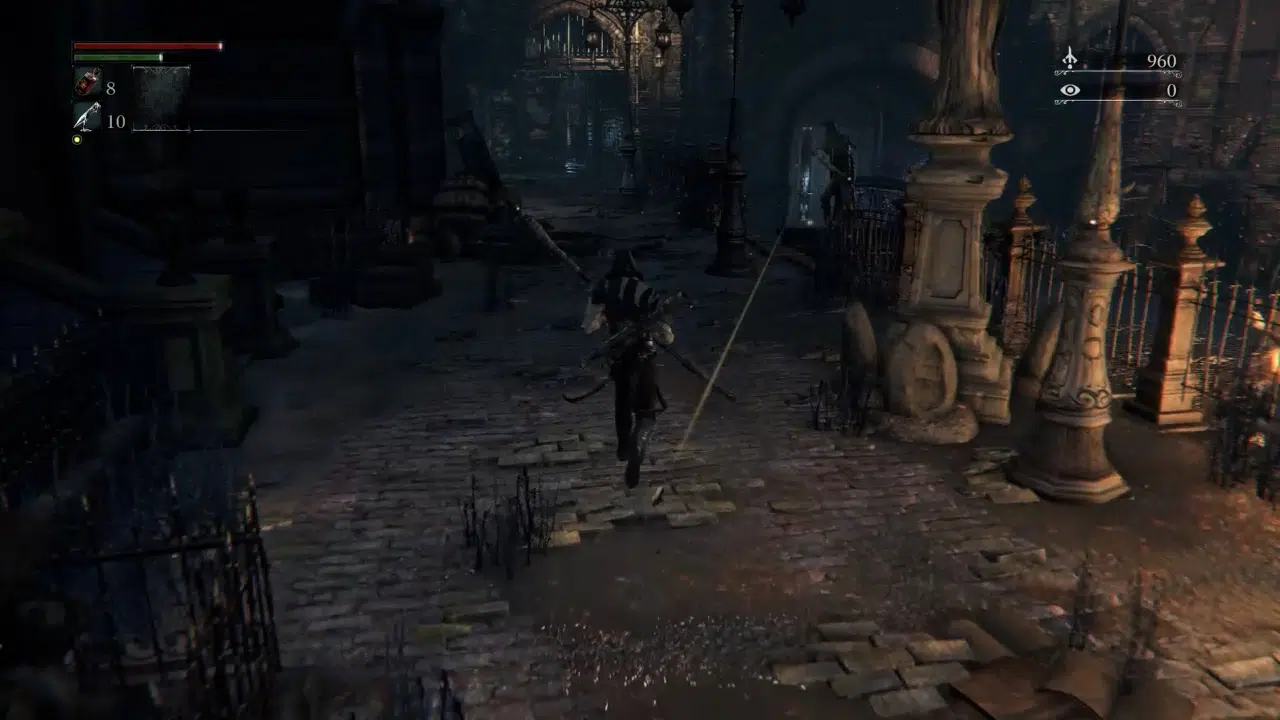
After that risky situation, we’ll find ourselves on a mostly safe path until we encounter a dog guarding a water fountain. While dealing with the dog is no trouble, the group of enemies patrolling ahead can easily stun-lock us to death. I advise waiting atop the preceding stairs and dealing with each enemy one by one until it’s safe to proceed.
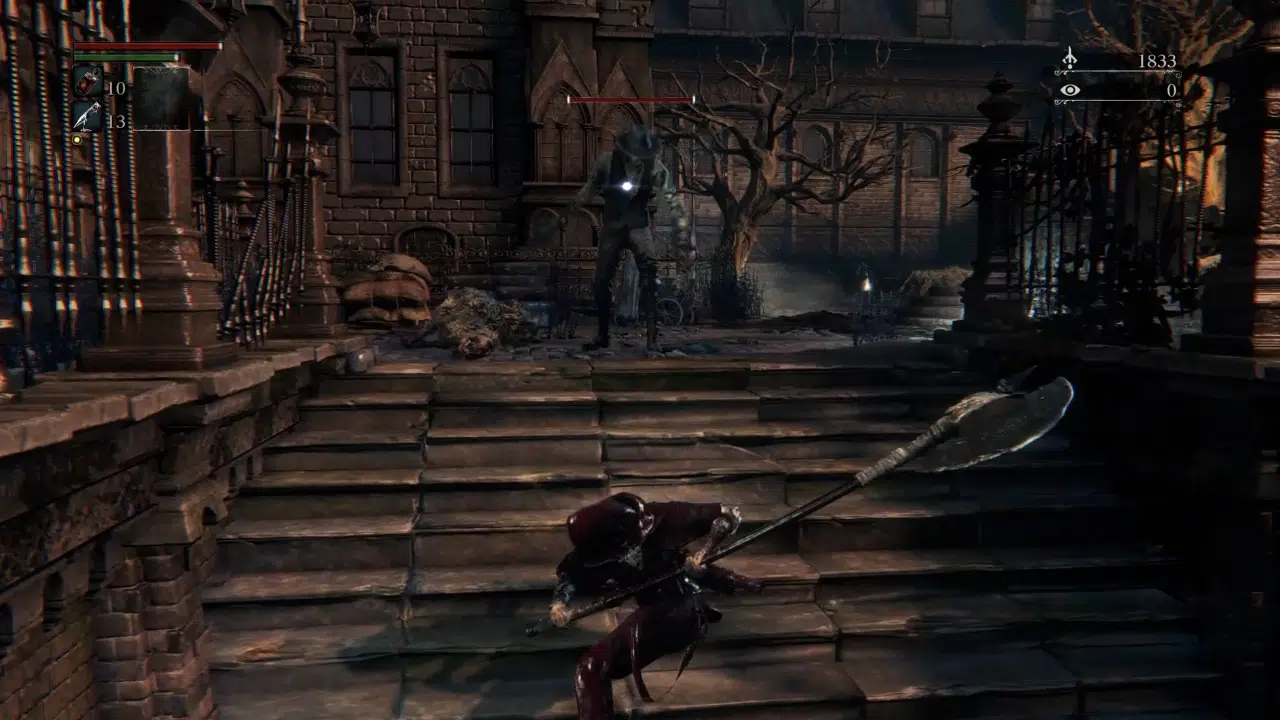
Once we’ve cleared out the enemies ahead, we can proceed unharmed to the bridge to the cleric beast. This bridge contains two shortcuts we can open on our left to reach the Central Yharnam lantern, as well as a rock dropoff that takes us to a set of sewers to get to Father Gascoigne. I advise opening the two shortcuts and then proceeding to the Cleric beast to gain a single insight.
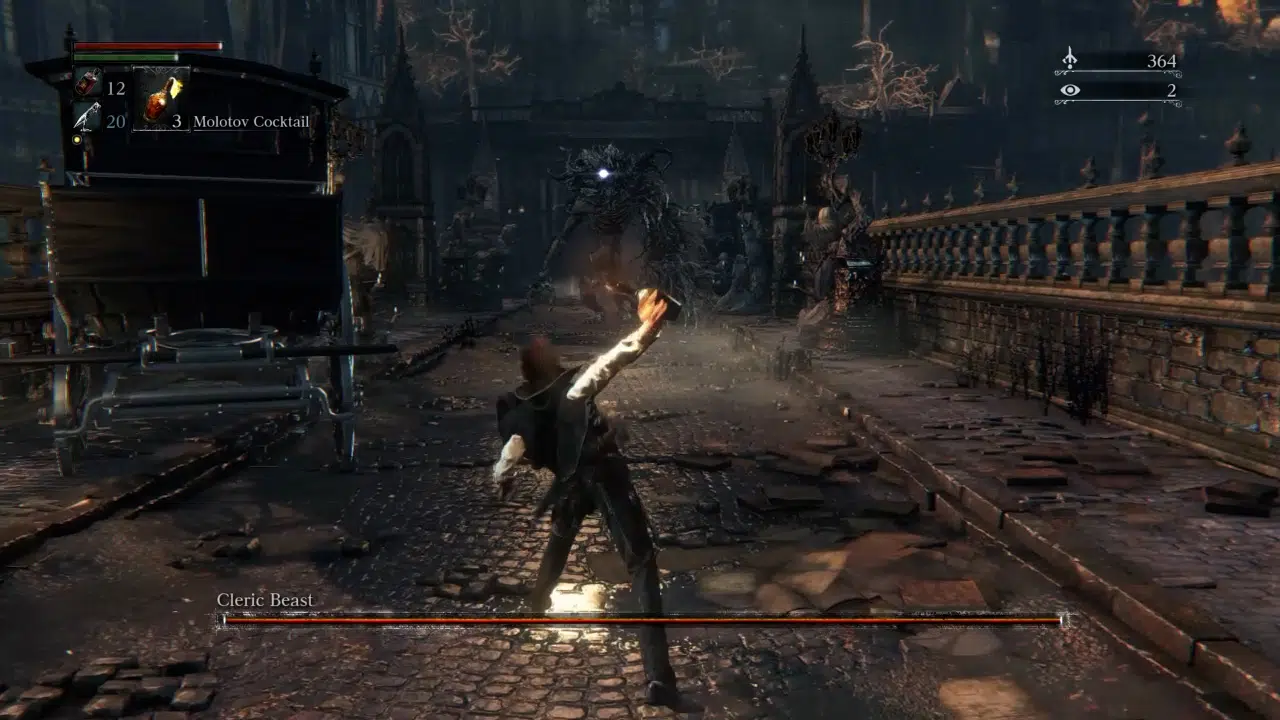
Fight: Cleric Beast
Fast and wrathful, the cleric beast can prove a formidable opponent for low-level players. Luckily, if we practice a few tips, we can eliminate this foe without much hassle:
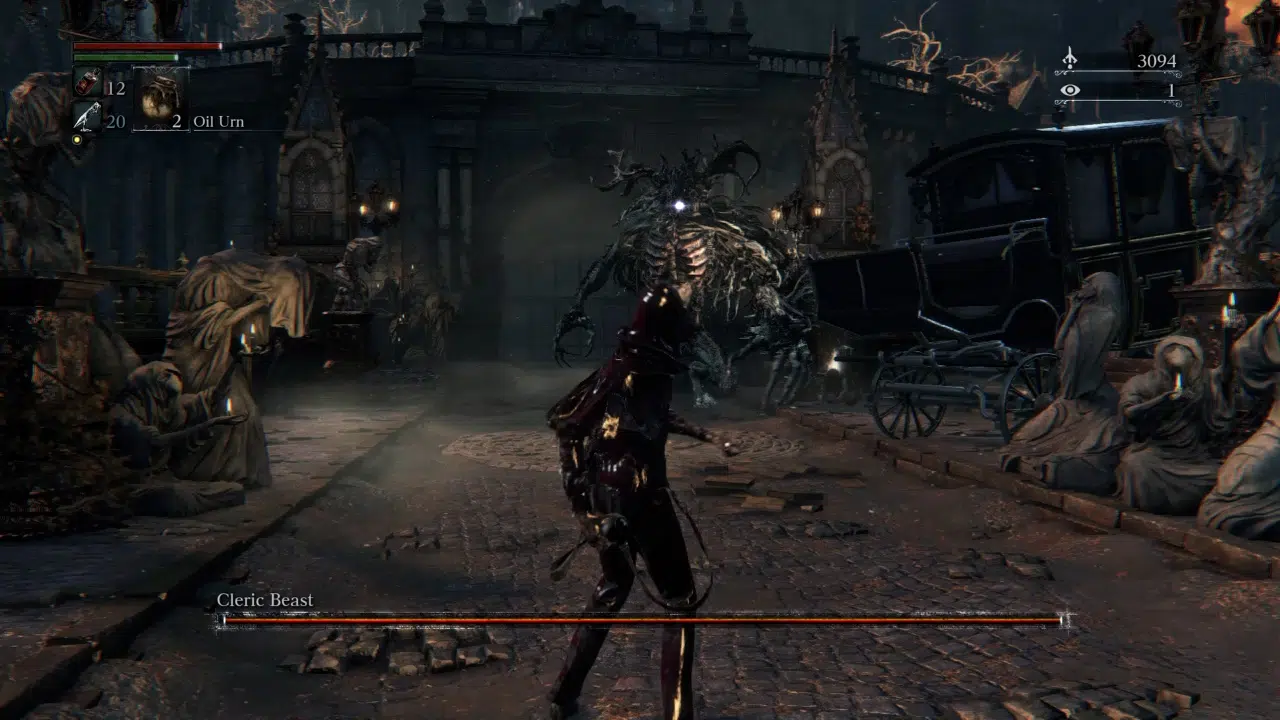
Molotovs: These fiery consumables work wonders against the holy foe, primarily when used with oil urns. I advise saving 4-5 of these to take off a good third of their health and stay safe from a distance. Beware that standing too far from the Cleric Beast triggers its charge attack, so pay attention to the beast before throwing.
Hug their Backside: The cleric beast can deliver some punishing attacks upfront but cannot attack us from behind. I advise sticking to their backside whenever possible to avoid harassment and preserve our blood vials for later battles.
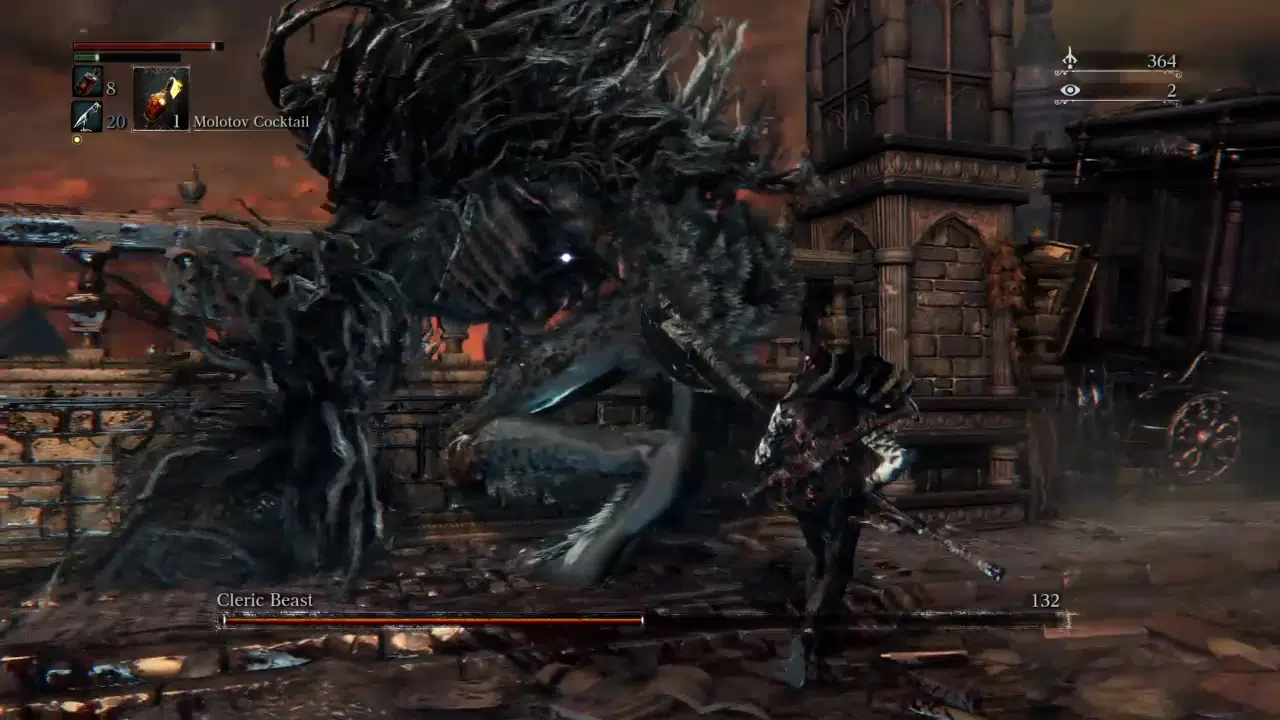
Charged Attacks: Most weapons have charged attacks that can stun lock enemies and stagger bosses. Utilizing our weapons charge attack can stun the Cleric Beast into submission and quickly end the fight. I recommend delivering this attack from behind to avoid getting hit before we deliver the blow.
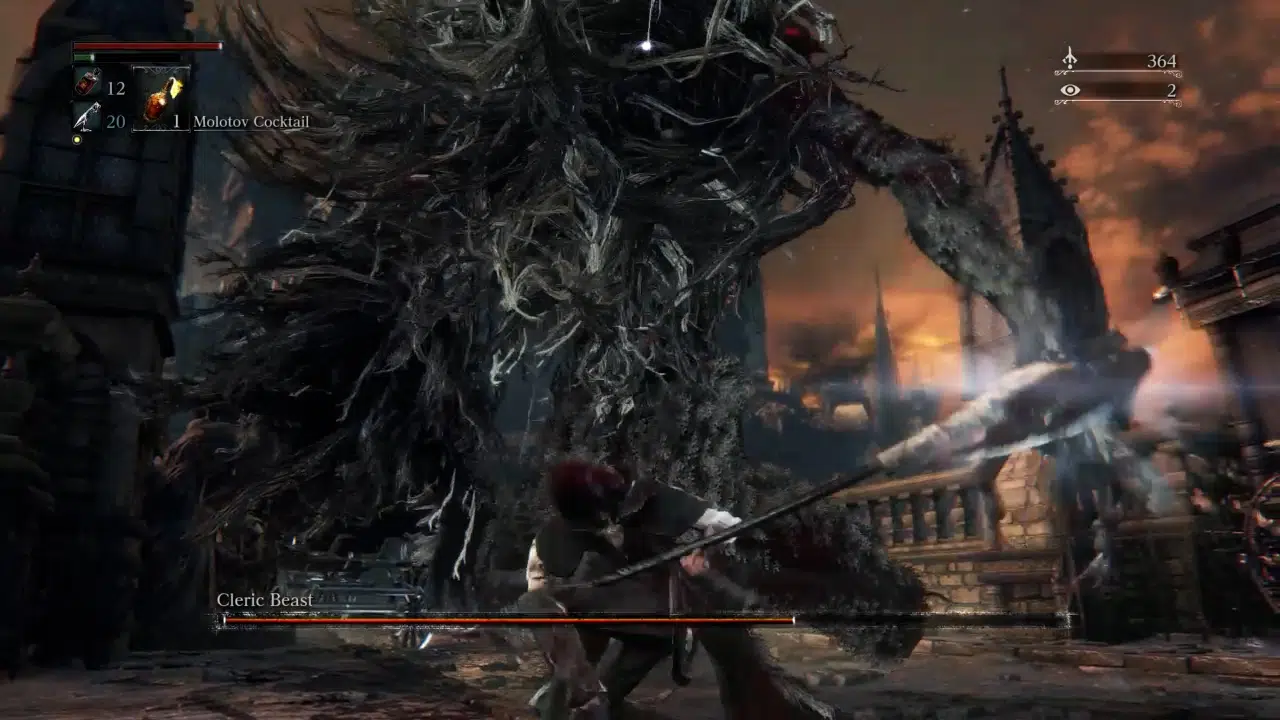
Whether we succeeded in fighting the Cleric beast or died and warped back to the Hunter’s Dream, we’ll now find the Doll reanimated and ready to channel our blood echoes. If we were unsuccessful in the previous boss fight, we can increase our character’s health and strength to ease the next attempt.
Path B: Consuming Madman’s Knowledge
Time: 14 min
Difficulty: Easy
If we’re worried about losing any blood echoes in our possession during the boss battle, we can gain insight from consuming a Madman’s Knowledge instead. This consumable is relatively scarce early on, so we’ll have to head tread through a rat-infested sewer to get it.
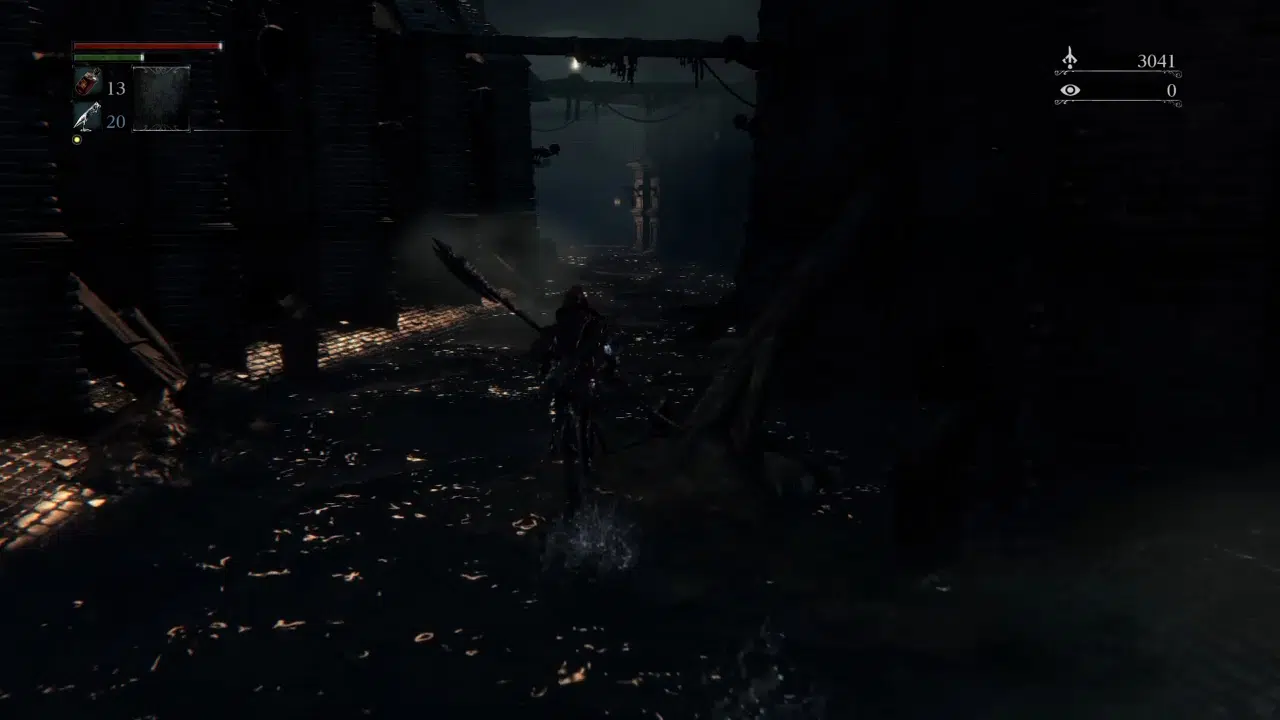
Instead of confronting the Cleric beast, we can take the small rock dropoff or the shortcut we opened earlier to reach a dog-infested area. Despite being locked up, these dogs will break out of their cages within seconds, so hurrying past these mangy mutts is imperative.
After running past those hounds and passing the Lonely Old Women’s house, we can head down a rose-colored stairway to greet a beastly foe at the stair’s bottom. I advise delivering a charged blow with the Hunter’s Axe to knock them down and then jumping into the sewers below.
At the bottom, we’ll find a set of rats gathered around an item. Run past these foes, claim our precious madman’s knowledge, and sprint the other direction with a horde of foes hot on our tail.
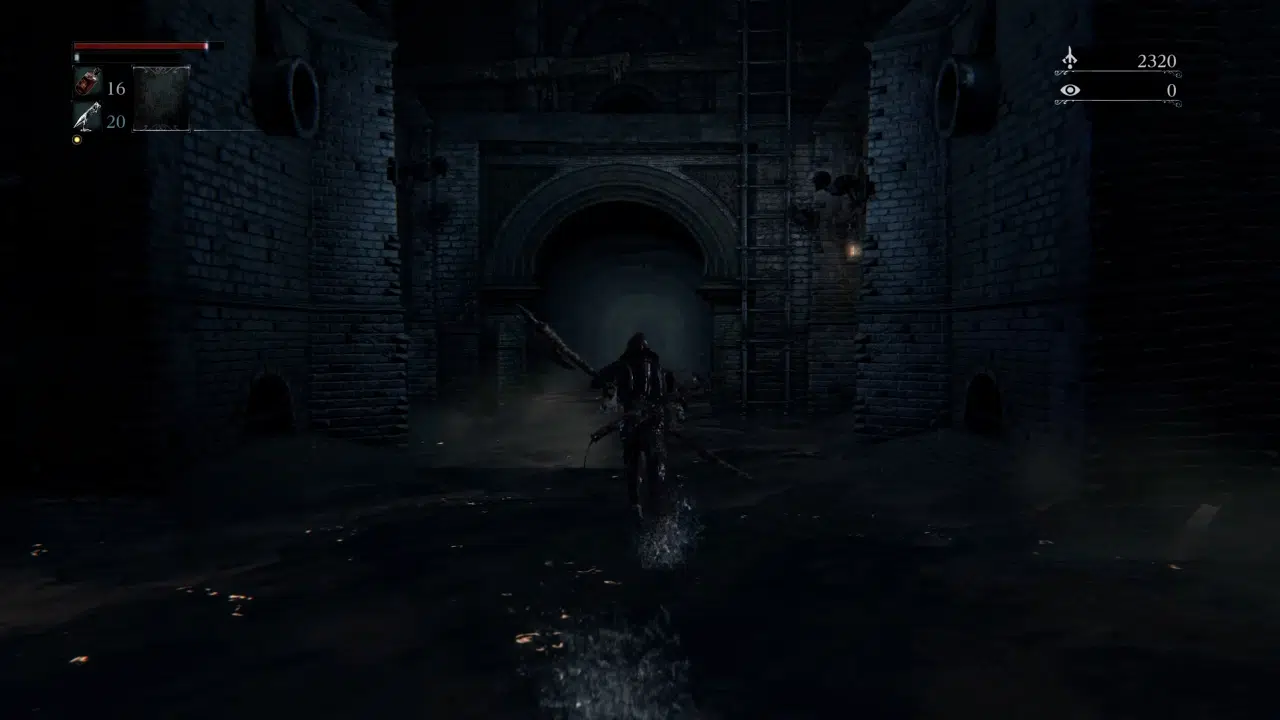
Once we dead end at the intersection, take a right under a set of corpse-covered rafters, then another right into a sewer crawling with the undead. This area is relatively safe so long as we keep moving, so take care not to linger for too long.
After that adrenaline rush, stop yourself from heading through the murky tunnel. A giant pig with a dangerous appetite lies in wait, so unless we want to become pig chow, head up the ladder to exit that foul sewer.
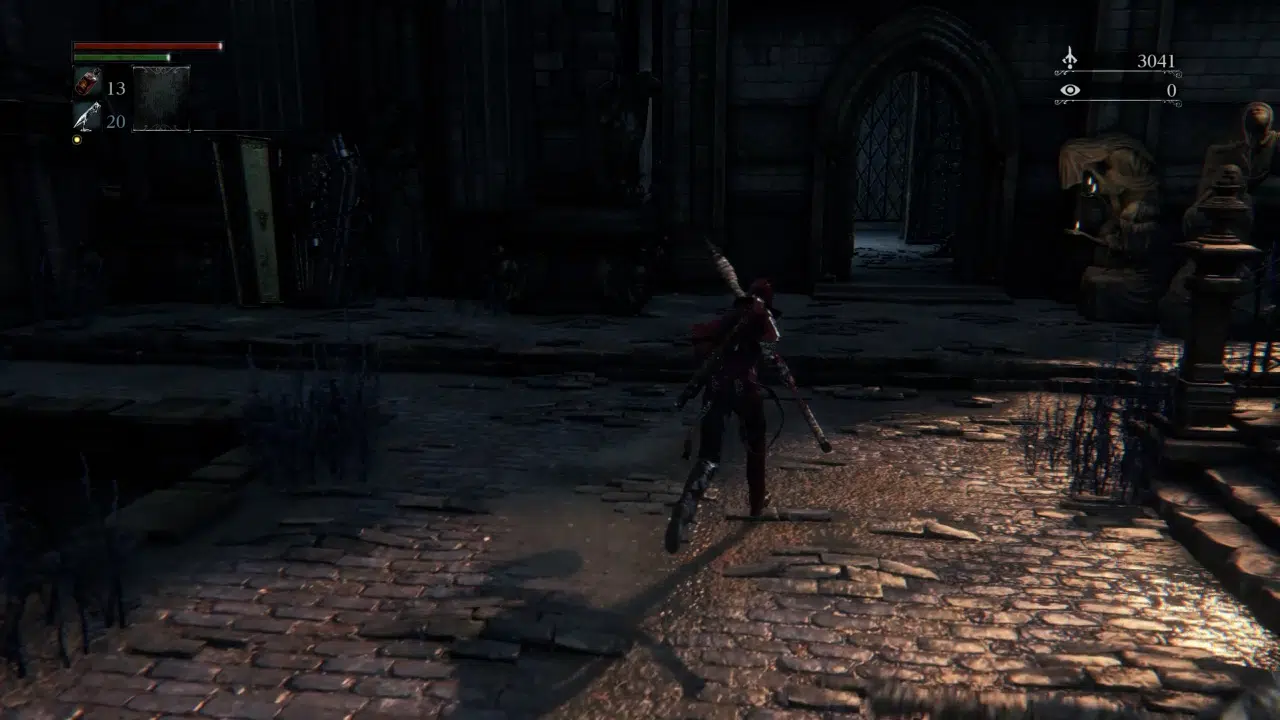
We’ll find ourselves just before the bridge to Father Gascoigne and the cathedral ward. Instead of continuing onward, take the elevator on our left to reach the shortcut we opened earlier for the cleric beast. From here, we can retrace our steps to the lantern and safely enter the Hunter’s Dream without losing any echoes.
After consuming a Madman’s Knowledge, we can now interact with the Doll and level our character with all the echoes we saved. Well done!

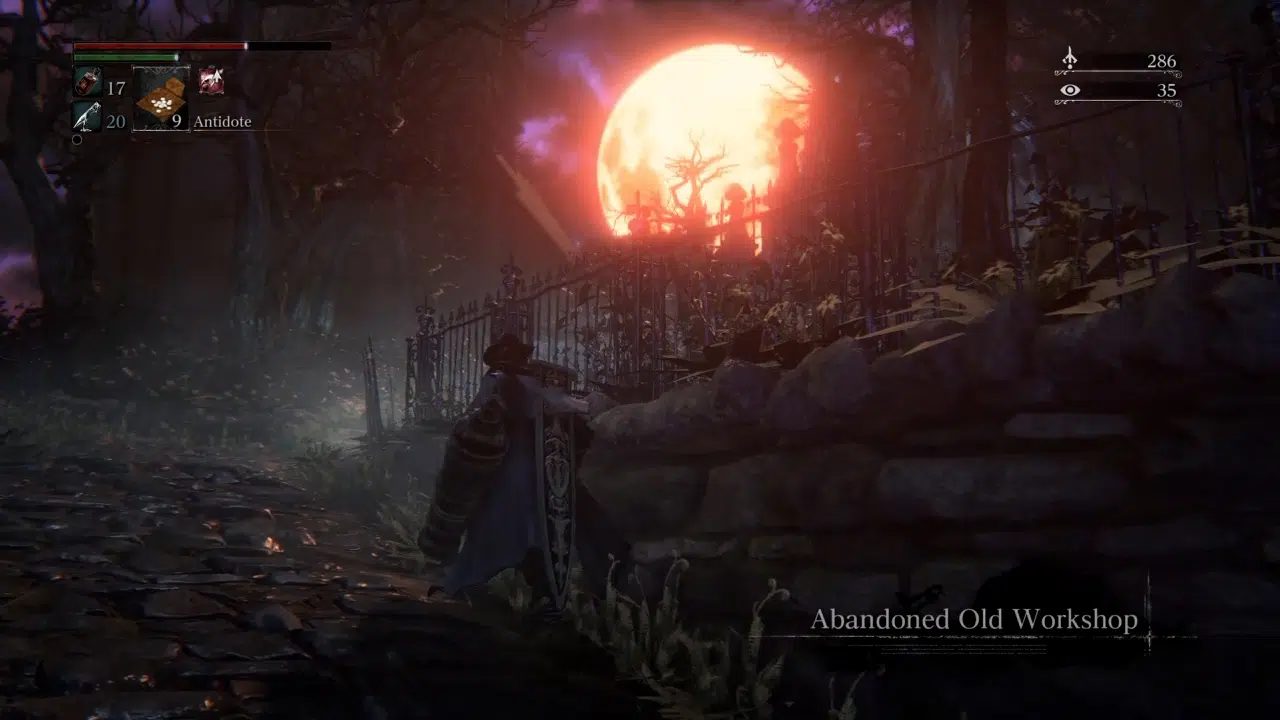
Abandoned Hunter’s Workshop
Within Yharnam, we can find an abandoned version of the Hunter’s Workshop with the real-world version of the Doll, the Doll’s apparel, and a particular item that triggers unique dialogue from the Doll. We can only access this area after we’ve killed the Blood Starved Beast in Old Yharnam, thus opening a new door in the Cathedral Ward.
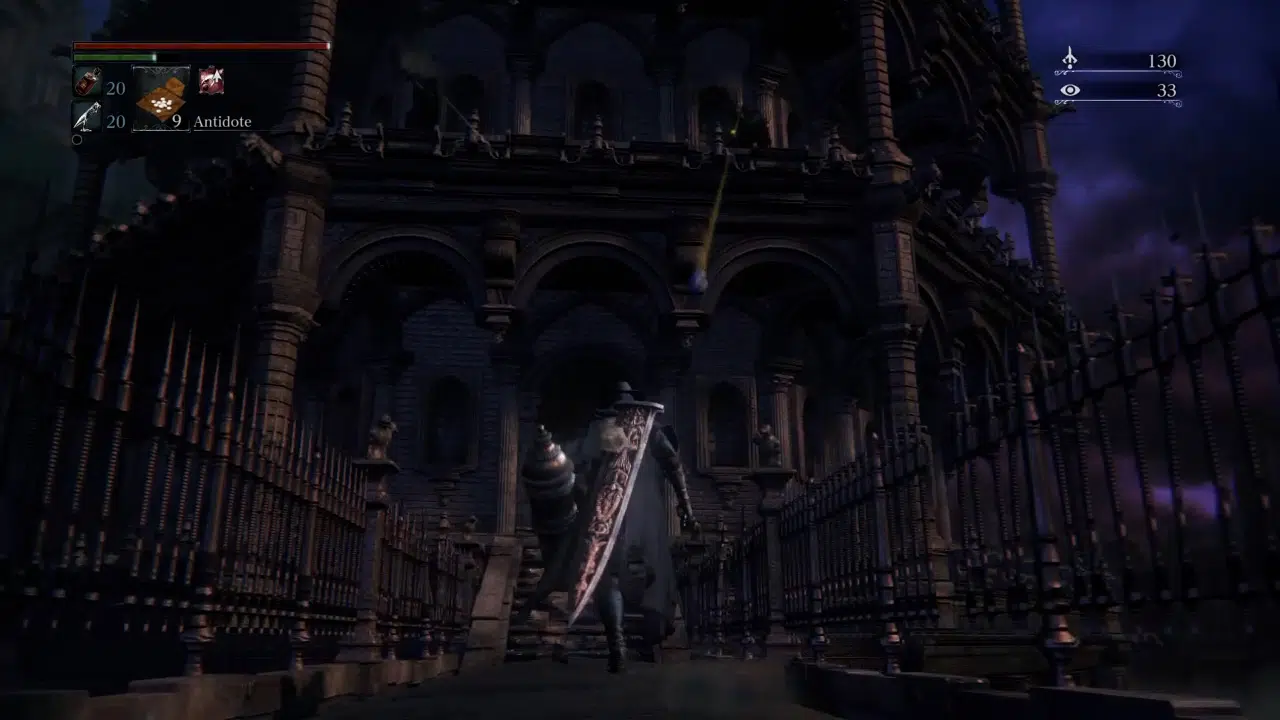
Starting from the Cathedral Ward lantern, take the rightmost door and head up the elevator to reach the healing workshop. We’ll find ourselves in a small room with a wheelchair huntsman, so take care to dispatch the beast from behind before his minigun rips us to shreds.
After that small fight, head outside across the bridge to the healing workshop. A beast charges upon our approach and two riflemen attack us from above, so hurry to find shelter beneath the workshop’s roof. Instead of heading into the workshop, cling to the left of the tower until we find a small stone drop-off.
After heading down and through the nearby door, we’ll find ourselves in an empty chamber covered with rafters. Instead of descending to the chamber’s bottom, look for a rope trailing down the breadth of the room. This rope leads to the entrance of the abandoned workshop so prepare to jump from the topmost rafter to reach this area. Be warned that the fall will kill us if we miss so spend any blood echoes before jumping.
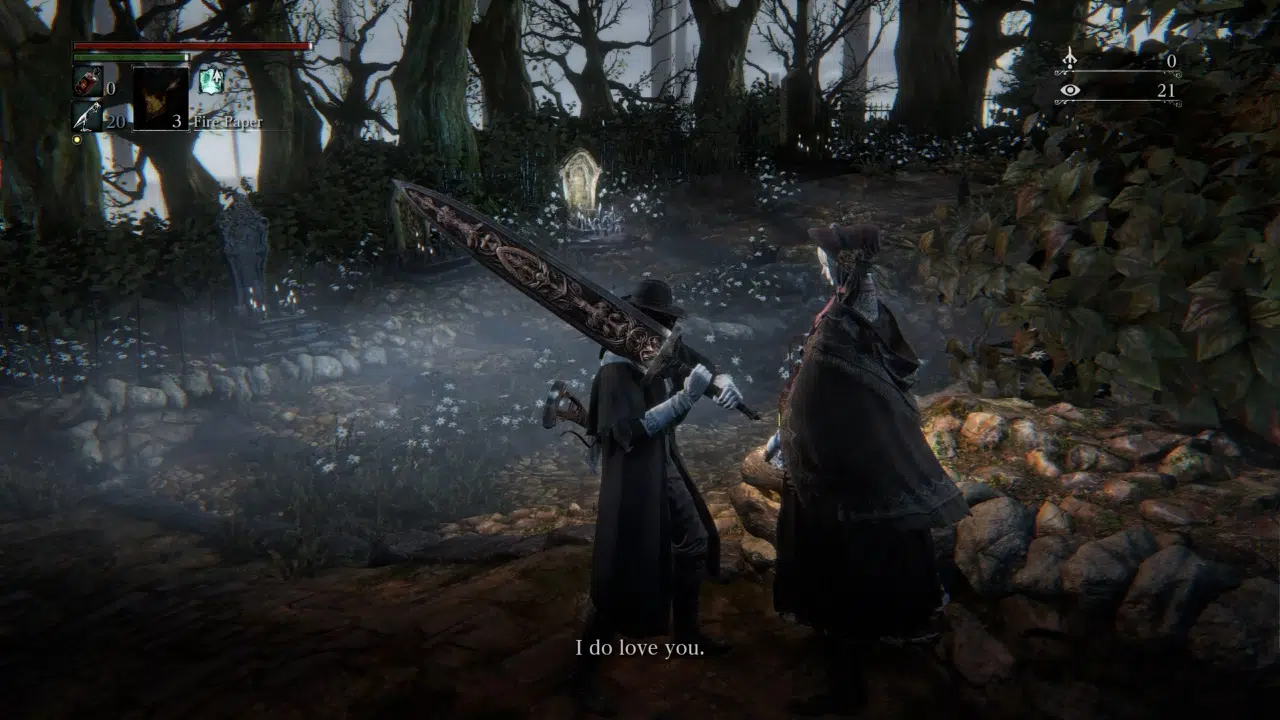
Surviving the jump grants us access to the door leading to a near identical version of the Hunter’s Dream. From here, we can collect the Doll’s outfit from a nearby chest, a third of the umbilical cord for the childhood ending, and find the Doll’s form and hair ornament within the workshop. Presenting the Doll with this particular ornament triggers an unusual reaction from the cotton avatar, stating that we brought her joy for the first time.
Key Relationships:
Gehrman, The First Hunter (Creator/Lover) – After losing his beloved student, Gehrman created the Doll as a perverse way to keep her memory alive. However, Gehrman’s affection for the Doll waned after some time, and he passed her off to new Hunters. We find Gehrman inhabiting the Hunter’s Dream and fight him at the game’s climax.
Lady Maria of the Astral Clocktower (True form) – The Doll’s inspiration and true identity; Lady Maria was an old Hunter that studied under Gehrman, serving Yharnham and the Byrgenwerth scholars. Unfortunately, Maria and her hunter compatriots committed atrocities against the Orphan of Kos great one and the surrounding fishing hamlet that plagued her mind, driving her to suicide.
We can find her disturbed spirit within the Hunter’s Nightmare and put the tormented Hunter to rest after a grueling boss fight. Returning to the Doll with a fragment of Maria’s remains triggers her memory, prompting a unique line of dialogue.
Our Character (Caretaker) – Our most trustworthy friend and the only means of leveling, the Doll cares for our character when no one else will. If we obtain the Childhood ending (turn into a great one) or reject ending (get confined to a wheelchair), the Doll takes care of us and cradles us for warmth. Even if we get the sunrise ending (die in the Hunter’s dream), the Doll visits our grave on future playthroughs to put our spirit to rest.
Notable Quotes
- First meeting: “Hello good Hunter. I am a doll, here in this dream to look after you.”
- Caught naping: “[Suprised gasp]…Ahh, welcome home, good hunter. I must have drifted off. What is it you desire?”
- On past hunters: “Over time, countless hunters have visited this dream. The graves here stand in their memory. It all seems so long ago now…”
- Channeling echoes: “Very well, let the echoes become your strength. Let me stand close. Now shut your eyes…”
- Parting remark: “Farewell, good hunter. May you find your worth in the Waking world.”
- Top 10 Anime Confessions: “Would you ever think to love me? Of course… I do love you. Isn’t that how you made me?”
- Triggering her memory: “I-I can’t remember, not a thing, only…I feel…A yearning…something I’ve never felt before.
- After Killing Lady Maria: “Moments ago, from some place, perhaps deep within, I sensed a liberation from heavy shackles.”
FAQs
Conclusion
Well done, brave hunter! We succeeded in reviving our cotton friend to make the trek through Yharnam much more bearable. Although eldritch foes may trouble our progress, we now have the power to grow stronger and overcome our enemies in due time.
Even if she isn’t a real person, we can show our affection by roleplaying as the Doll, bringing her signature dress and hat to Yharnam. These beasts shall grow to fear the fury of an angry handmaid!