- Bloodborne Darkbeast Paarl Guide - October 31, 2022
- Bloodborne Doll Character Guide - September 8, 2022
Bloodborne’s bosses are a visual delight. From the strange assortment of limbs to the disgusting attacks that verge on body horror, each boss offers a uniquely challenging fight with various valuable rewards.
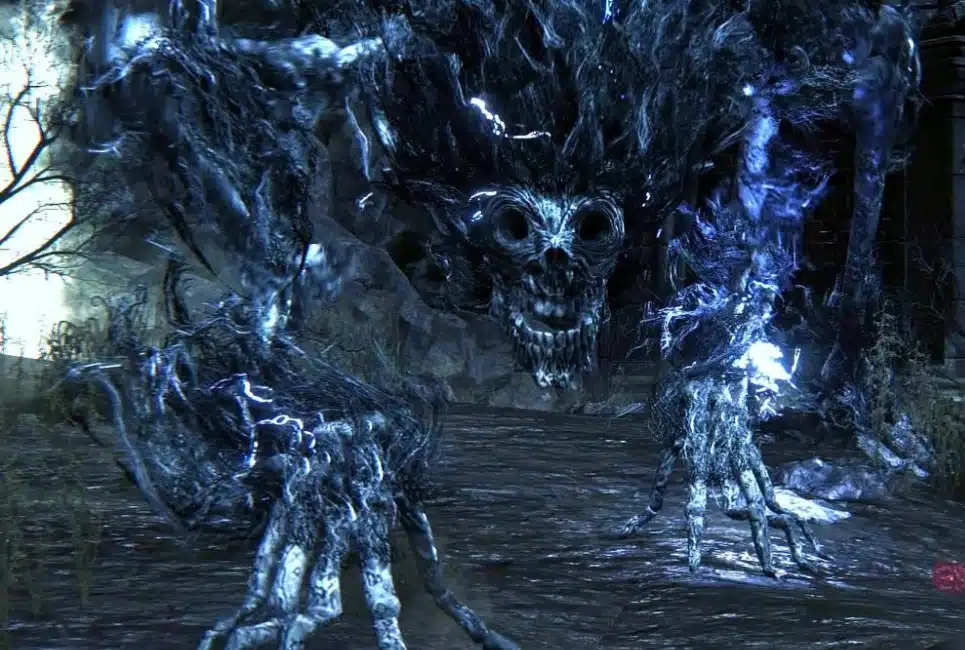
Chief among these fights lies the Darkbeast Paarl, a bolt-infused super werewolf that tears us to pieces with its razor-sharp, lightning claws.
In this Bloodborne Darkbeast Paarl Guide, I’ll review finding and defeating the hidden lightning beast terrorizing the ruins of Yharnam. As a bonus, I’ll detail where to redeem the Spark Hunter badge for mountains of bolt paper and a potent arcane weapon.
Bottom Line Up Front
After killing the Blood-Starved Beast in Old Yharnam, intentionally die to a collector just outside the Cathedral Ward to get transported to Hypogean Gaol. Following waking up, head through the dark prison nearby to find an opening to the fight with the Darkbeast Paarl. Aim for the head and summon Defector Antal to end the fight quickly.
Quest Locations: Hypogean Gaol
Quest Giver: None
Requirements: Killed Blood-Starved Beast
Length of Quest: 15 minutes
Difficulty: Hard
The Lightening Abomination
Beastly, shocking, and hungry for blood, the Darkbeast Paarl is a vicious boss dealing devasting lightning damage. Although its origins remain unclear, we can surmise that it’s likely a Yharnam mega-werewolf or a chalice dungeon horror based on its proximity to Old Yharnam and the version we fight elsewhere. Fighting the Darkbeast Paarl grants us the Spark Hunter badge, a key item that allows us to purchase lightning-based consumables and equipment. Overall, the Darkbeast Paarl is essential for arcane builds and bolt users.
Equipment and Rewards
- Weapons
- Tonitrus – Essentially a rounded mace, the Tonitrus turns into a lightning weapon for a brief time upon transformation. I advise using it against bosses weak to lightning, like Rom the Vacuous Spider and Amygdala, but switching to weapons buffed with bolt, like Ludwig’s holy blade, later on. We can purchase the Tonitrus for 26,000 Blood Echoes from bath messengers after obtaining the Spark Hunter Badge from the Darkbeast Paarl.
- Key Items
- Spark Hunter Badge – Enables purchasing bolt paper with insight and the Tonitrus from bath messengers. The Spark Hunter Badge also details lore regarding a scholar joining Byrgenwerth after a compulsion to study darkbeasts.
- Consumables
- Bold Hunter’s Mark – For the lost, scared, and lazy, Bold Hunter’s Mark returns us to the last lamp we visited. I advise employing the Bold Hunter’s Mark if we’re far from home with an abundant amount of blood echoes. We obtain a Bold Hunter’s Mark from the Darkbeast Paarl if we already have the Spark Hunter Badge.
- Currency
- Blood Echoes (21,000) – Used for leveling up, fortifying weapons, and purchasing items from Bath Messengers, Blood Echoes are the primary currency of bloodborne. While we can obtain them from enemies and blood consumables, dying twice consecutively removes our blood echoes for good. The Darkbeast Paarl drops 21,000 after death.
- Insight (4)- Used to purchase consumables, Challice Dungeon Materials, and summon foes, insight is an alternative currency in Bloodborne. We primarily gain insight from encountering and defeating bosses and can spend it at the bath messengers and for summoning help. I advise spending over conserving insight; having too much insight negatively impacts our beasthood and frenzy resistance.
Preparation
Before we begin our short trek to the Darkbeast Paarl, we’ll have to ensure we killed the Blood Starved Beast at the bottom of Old Yharnam. After succeeding in the fight, tall, gaunt figures carrying bags, “snatchers,” spawn throughout certain sections of Bloodborne. Rather than waking up at a nearby lantern, dying to these foes transports us to a Hypogean Gaol’s prison containing the Darkbeast Paarl. I also recommend equipping bolt-resistant gear, ideally Henryk’s Hunter Set, and defeating Vicar Amelia to enable summoning Defector Antal for the fight.
**Note – Defeating Rom, the Vacuous Spider removes any lanterns we had access to in the Hypogean Gaol and despawns the snatcher-type enemy. Consider facing Darkbeast Paarl before Rom the Vacuous spider if we want to enjoy the benefits of bolt-infused equipment earlier in the game.
Finding Darkbeast Paarl
Step 1 – Shortcut to Hypogean Gaol
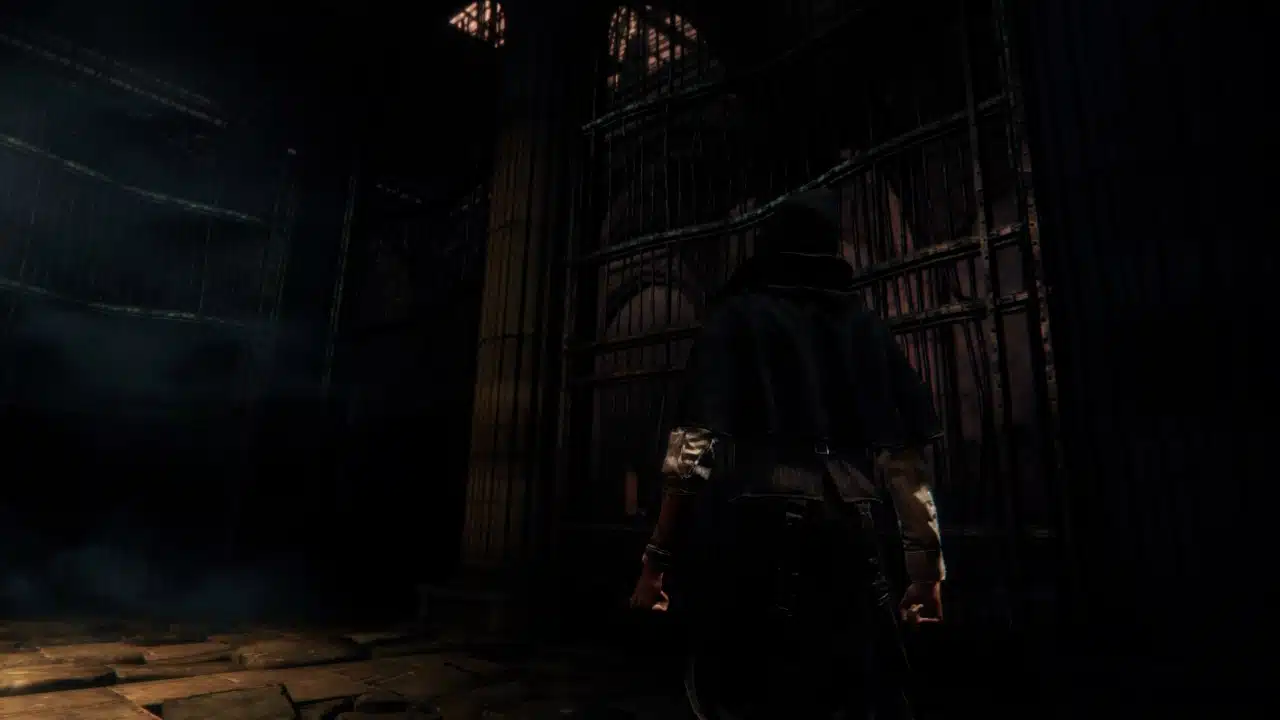
Starting from the Cathedral Ward Lantern, walk straight outside. Head right and look for a creature carrying a giant bag.
This snatcher carries us to a prison containing the Darkbeast Paarl following our death. After spending any blood echoes on our person, let the bag creature kill you.
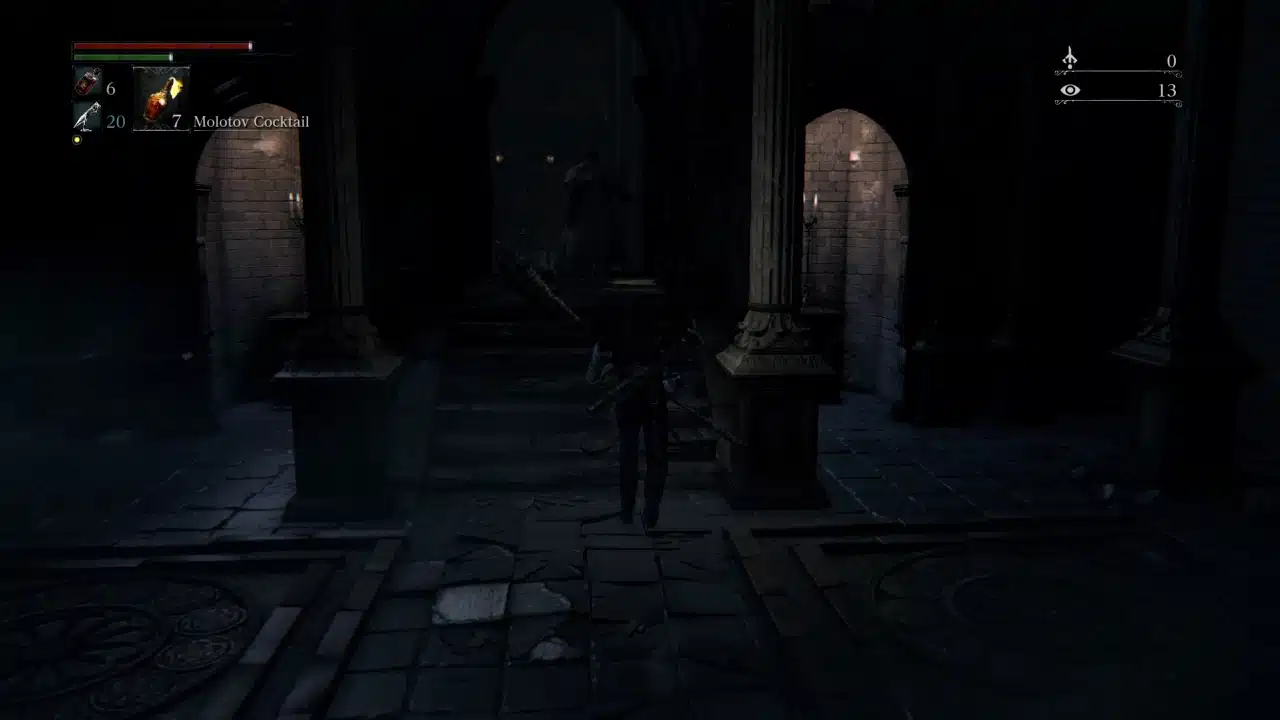
Step 2 – Eldritch Prison Adventure
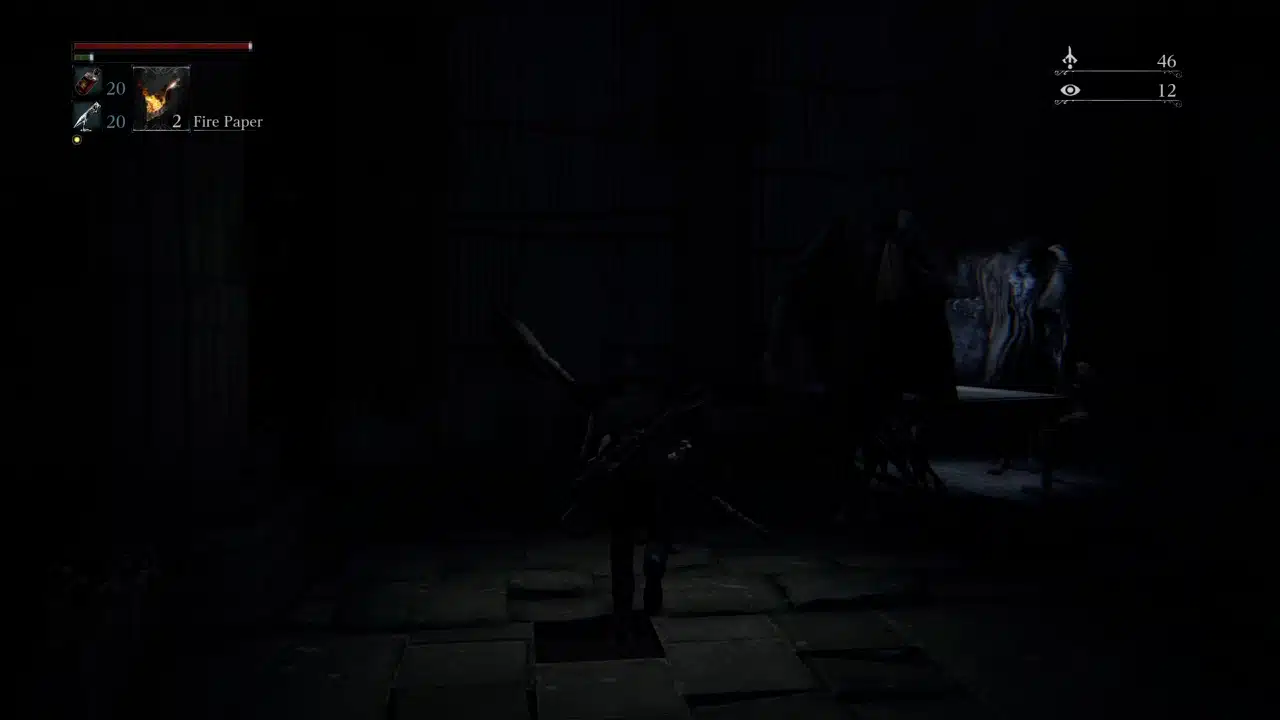
Instead of waking up at a lantern, a small cutscene shows our character waking up in an unlocked prison. After waking up, head out of the prison cell towards an opening to the left.
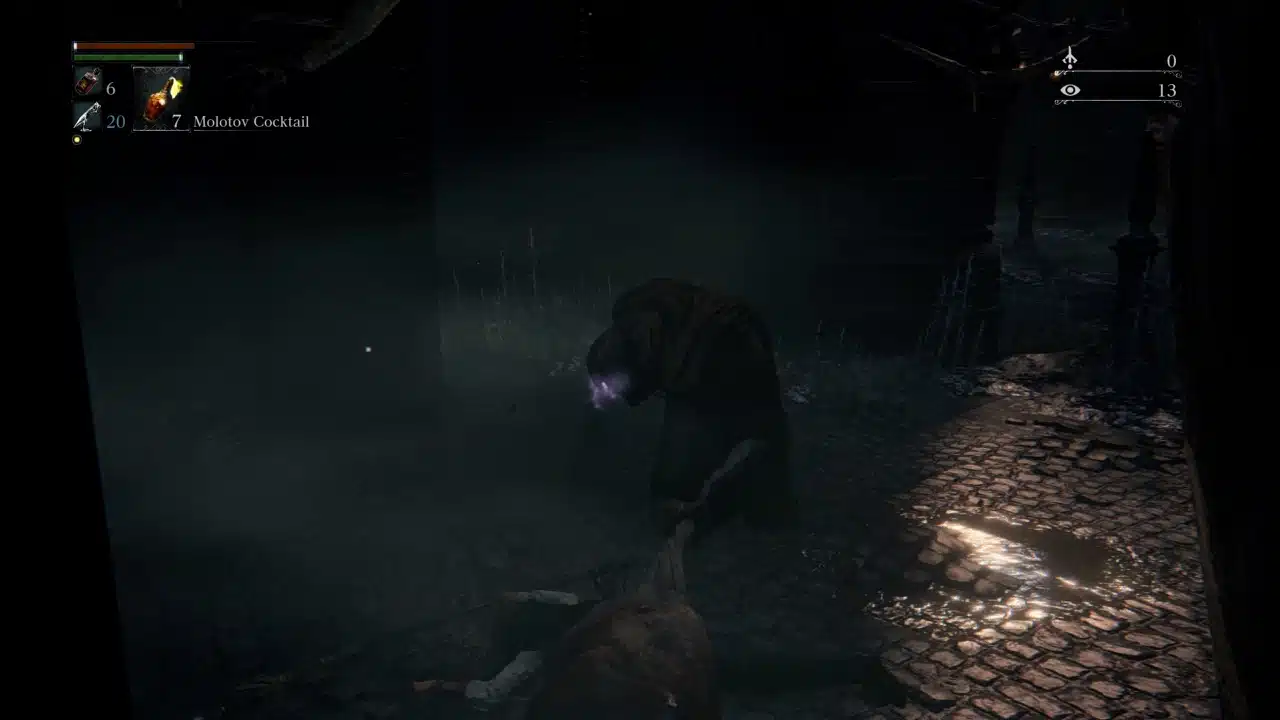
Rather than take the stairs to the top, look for a rectangular doorway at the midway of the stairs. This passage leads to a dark room with two witch enemies on the other side waiting to ambush us. Head straight into the room and head left through a set of opened bars at the room’s end.

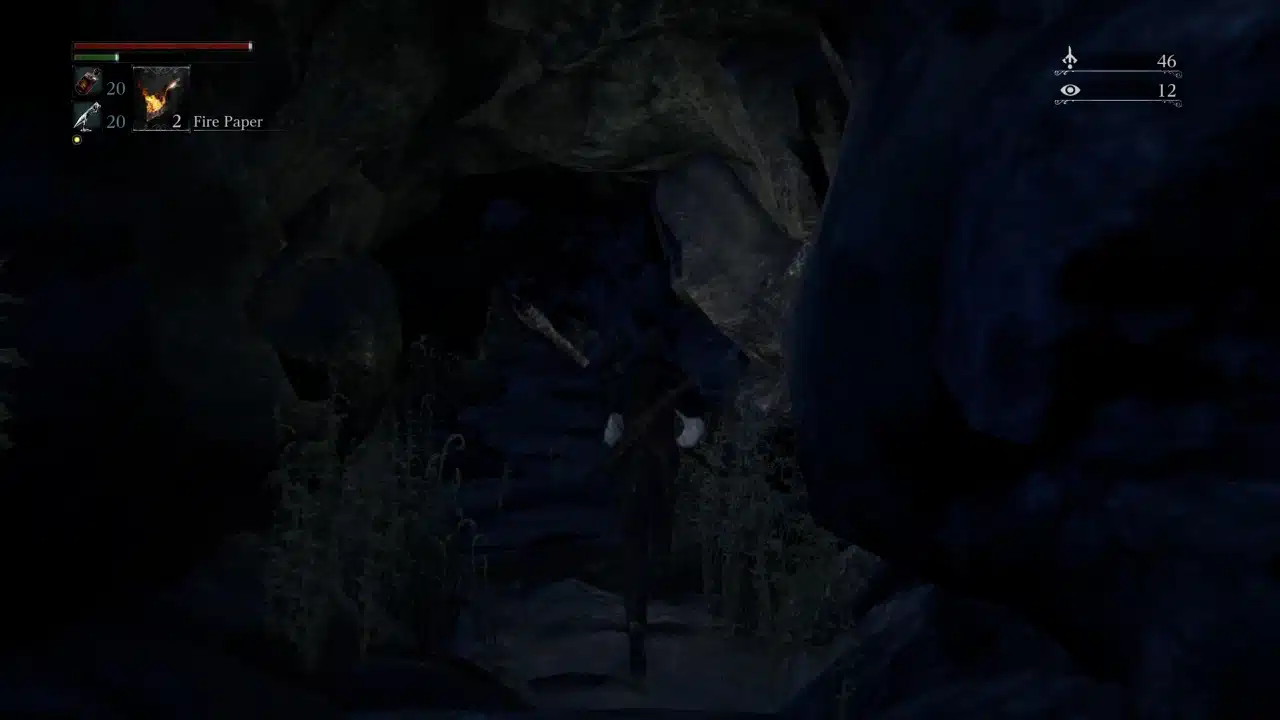
This passage leads into a room with two snatchers, so sprint past them before their magical grab attack stuns us. After this tribulation, we’ll head through a small rock tunnel that leads straight to the Darkbeast Paarl boss fight.
After a small rock dropdown, look to the right for Defector Antal’s summon sign. If we haven’t defeated Vicar Amelia, the summon sign remains obscured, so consider tackling that furry monstrosity before beginning this fight. Regardless, we’ll proceed downwards until we reach a sleeping beast guarding a large area. Walking into the Arena triggers the boss and begins the fight.
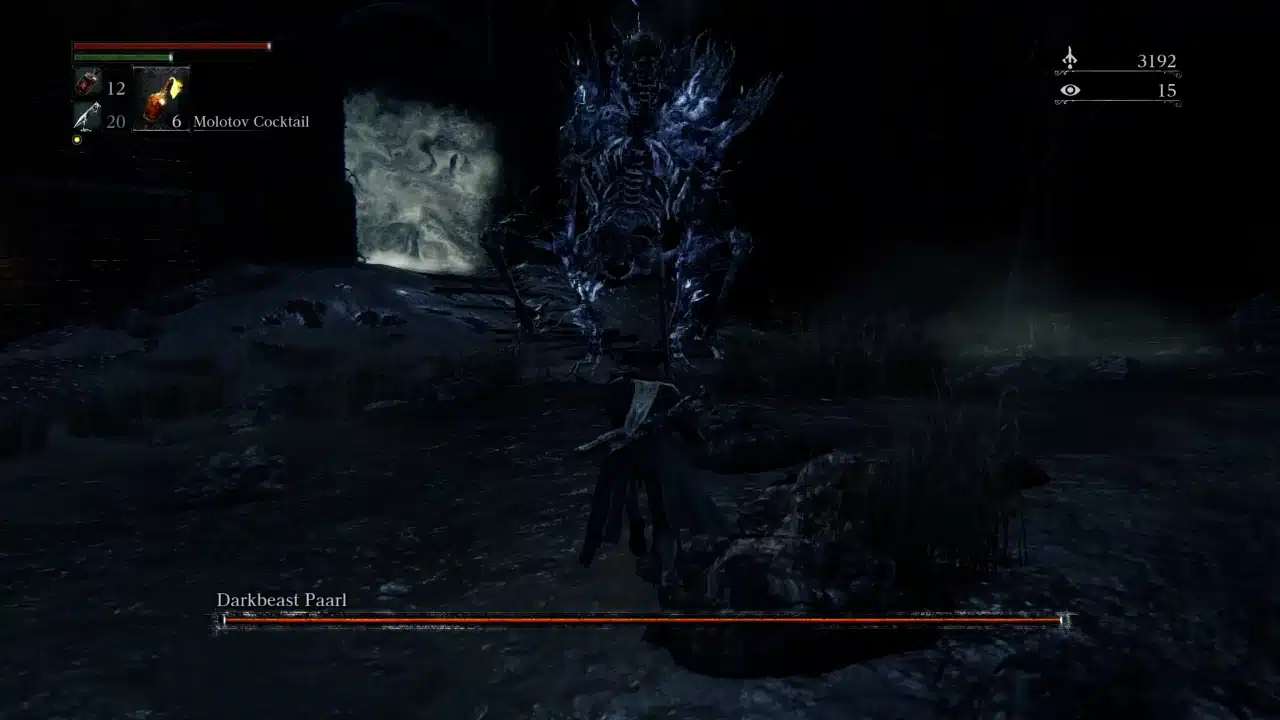
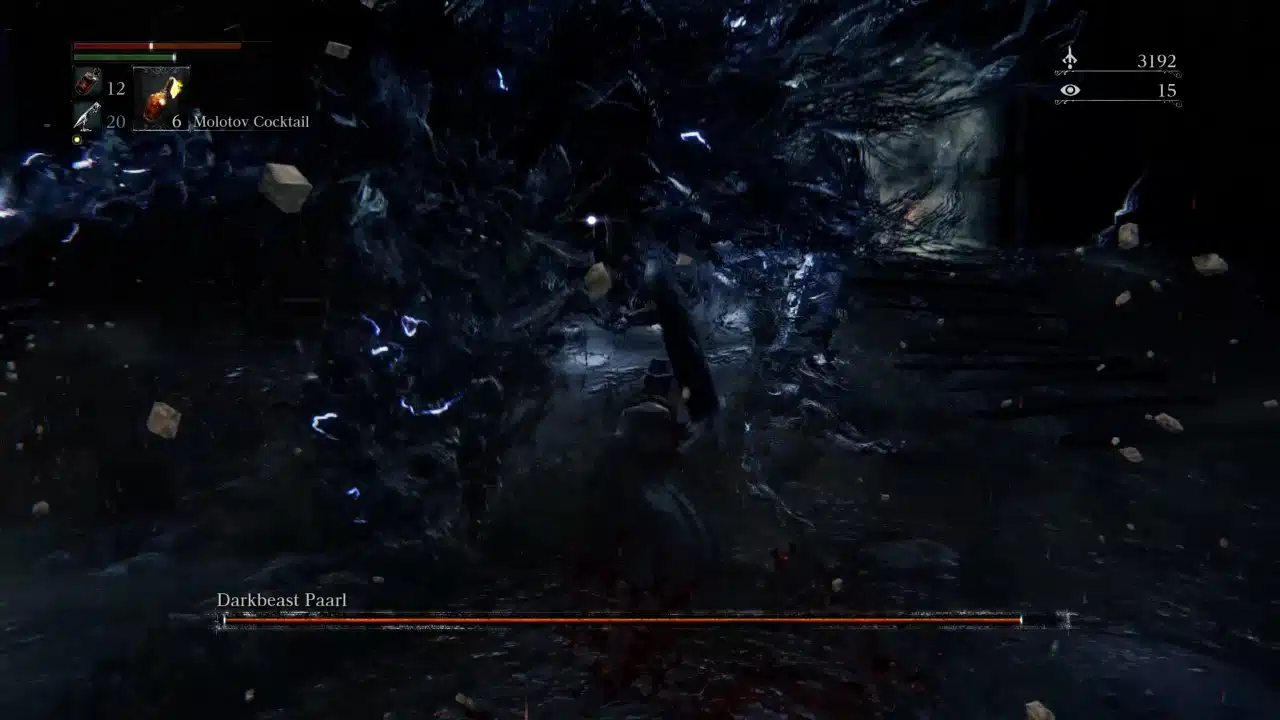
Darkbeast Paarl Fight
The Darkbeast Paarl is a challenging boss. With several high-damage ranged attacks and a brutal AOE, ill-equipped players will likely struggle with this beastly foe. Luckily, we can employ a few easy tactics to tackle the worst of the beast’s attacks.
Aim for the Head
Successfully landing several blows to the Darkbeast’s head removes its lightning effect and sends it retreating. While it can still attack in this form, the beast’s damage is significantly reduced, and we can fight more aggressively without fear of retaliation. I recommend employing a longer, transformed weapon (ideally the Hunter’s Axe or Ludwig’s holy blade) to trigger this reaction.
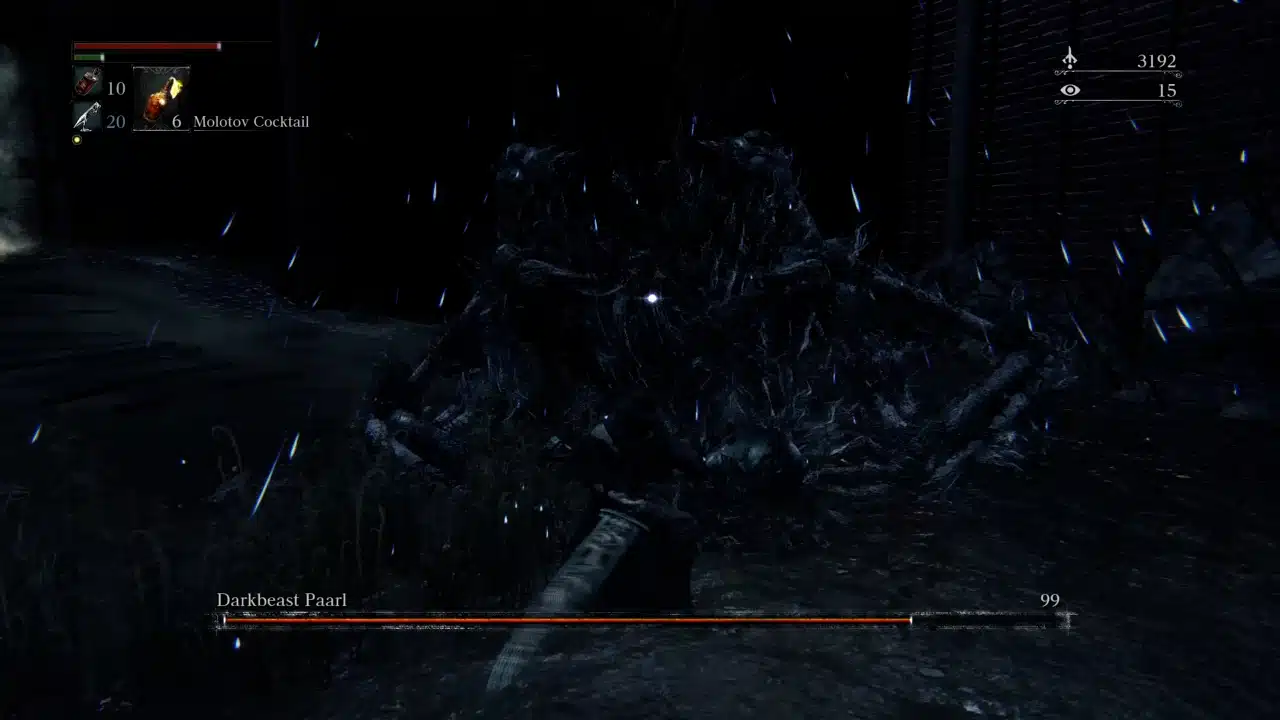
Stick Beneath its Chest
The Darkbeast Paarl possesses high range and moves around frantically. Remaining just beneath its head ensures we can avoid the worst damage and have a great chance of striking the darkbeast’s head. However, I advise running away whenever the enemy begins to charge up its lightning AoE attack unless we want to lose nearly 2/3s of our health.
Buff Up
Before the fight, consume fire paper and a beast blood pellet to boost our damage output. Dealing enough damage can stun the Darkbeast and enable a visceral attack, knocking off nearly a third of its health.
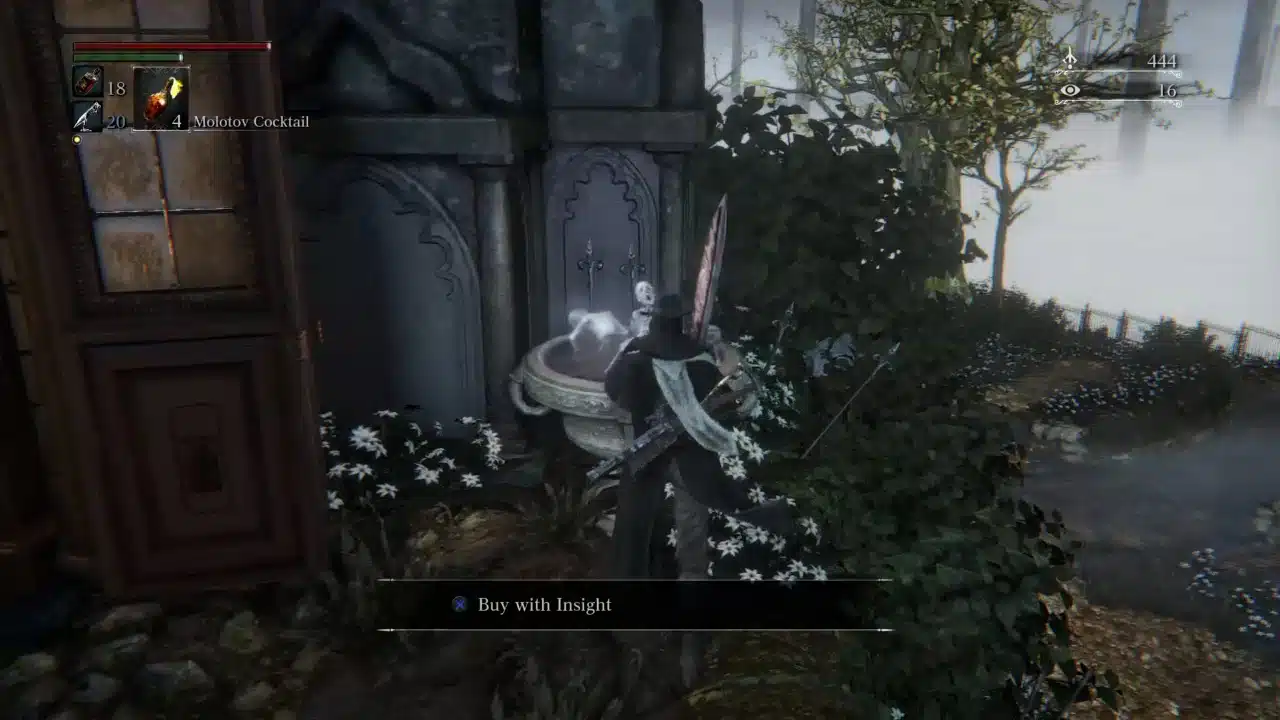
Redeeming the Spark Hunter Badge
After relishing our hard-fought victory, we can purchase new items from a hidden bath messenger within the hunter’s dream. After entering the Hunter’s Workshop, heading through the open door at the room’s center reveals a miniature bath messenger that sells specialized consumables and crafting materials for insight instead of blood echoes. With our Spark Hunter Badge, we can access limitless bolt paper and the electric Tonitrus. Our Eldritch foes are in for a shocking surprise!
Darkbeast Paarl Quest Rewards:
- Weapons:
- Tonitrus
- Key Items
- Spark Hunter Badge
- Consumables
- Bold Hunter’s Mark
- Currency
- 21,000 Blood Echoes
- 4 Insight
Unique Encounter: Djura the Friendly Minigunner
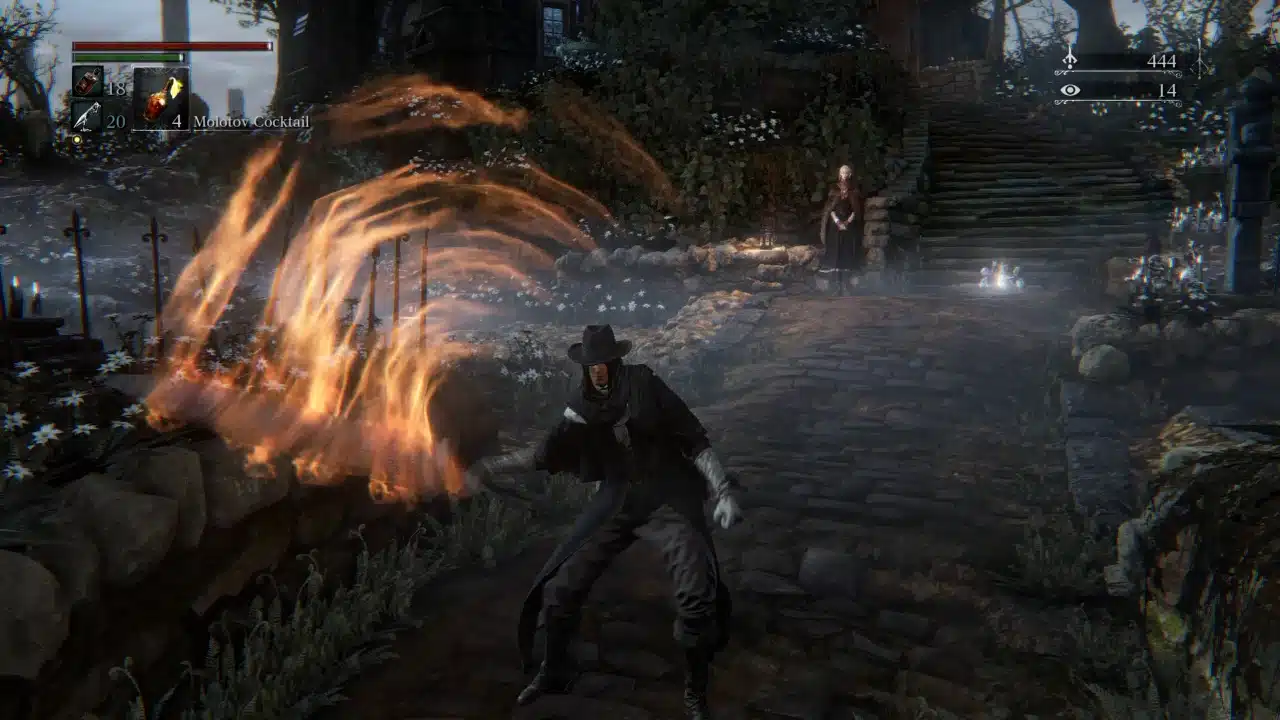
If we fight the Darkbeast Paarl after Rom the Vacuous Spider before entering Old Yharnam, we can access a unique interaction with Djura. Despite gunning us down in the upper limits of Old Yharnam, accessing this interaction turns Djura friendly.

After opening the giant doors after the Darkbeast Paarl fight, backtrack towards Djura’s sniper nest. Choosing the “Spare” dialogue option grants us a gesture, a powder keg badge, and a powerful new friend. Alternatively, picking “Hunt the Beasts turns him hostile, leading to a high-stakes swordfight atop the ruined tower.
FAQs
Answer: Yes, the Darkbeast Paarl is optional; defeating the boss rewards us with blood echoes and a special lightning badge. Unless we’re interested in the equipment or talking to a unique NPC in old Yharnam, we can skip the Darkbeast Paarl.
Conclusion
Well done, hunter. For all our searching and fighting, we slew the Darkbeast Paarl and gained access to the fantastic Spark Hunter badge.

While the electric wolf creature was bent on our destruction from our first meeting, I’m sure it appreciated a swift end to its tortured life. I don’t imagine getting electrocuted for the entirety of one’s existence was a pleasant way to live.
Now, with an arsenal of lightning-based equipment and bolt paper, we can hunt down eldritch foes and beastly abominations with truly “shocking” weapons. Though it may be dead, every time we make an enemy screech from the touch of our electric Tonitrus we can help keep the memory of our dear Darkbeast Paarl alive.
Continue reading:
Bloodborne Moon Presence Guide